How to Achieve Winter Light in Post-Production


This post is sponsored by the Adobe Creative Cloud Photography plan. We started using Adobe Photoshop in high school (1996!) and have learned with Adobe through our college education at Savannah College of Art and Design. For the last decade we’ve been using Adobe in our professional careers. To say the least, we’re excited to collaborate with them. Check out other posts in the series, 5 Step Workflow.
_____________________
You all know the images, the ones that capture a mood so perfectly it feels like you’re there, in that moment, in that space, experiencing the image. We’re going to talk a lot about mood in photography by focusing on winter light.
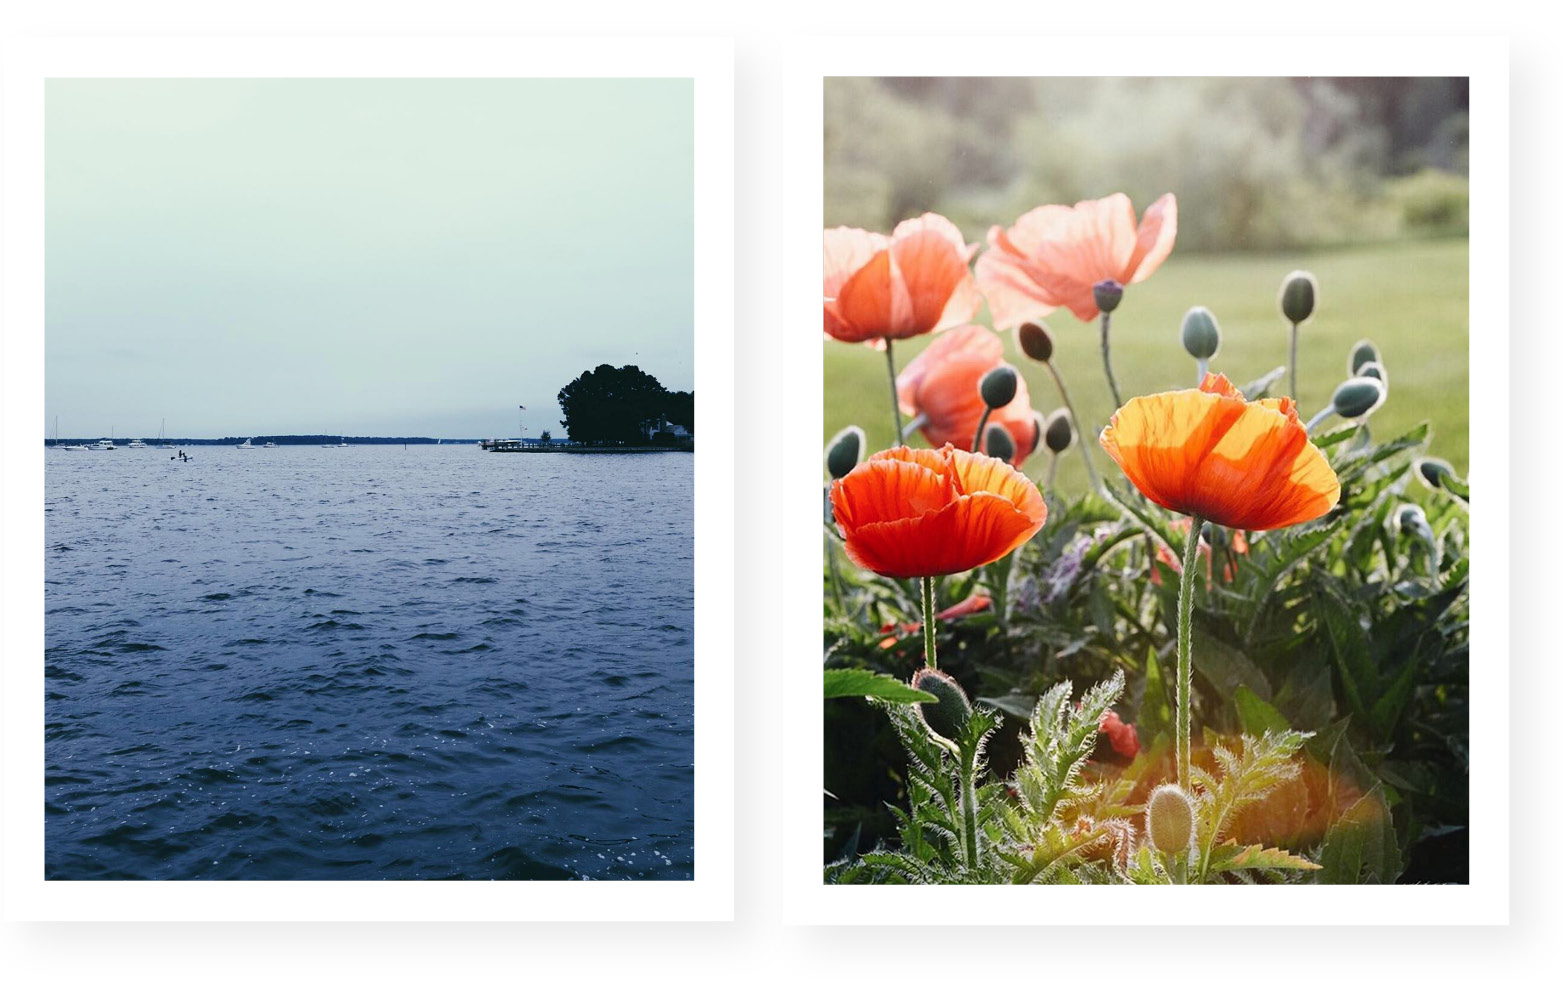
But first, let’s talk about the weather. We all see the seasons change before our eyes. Last week it was light until 8:30 p.m., this week the darkness starts creeping in around 7:30 p.m. We see the shadows shift to longer in the late afternoon and the environment around us change from warm to cool. The lush green grass changes to brown and all of a sudden it’s winter. While we’re going to get into some technical tips for making your images feel like ‘winter’, you have to be a watcher and observer of light to be successful. To me, the light is totally different when it snows versus just a cold winter day. That bright white snow reflects the sun so bright and hard. Before you turn on your computer for editing, think about the mood and what you are trying to achieve.
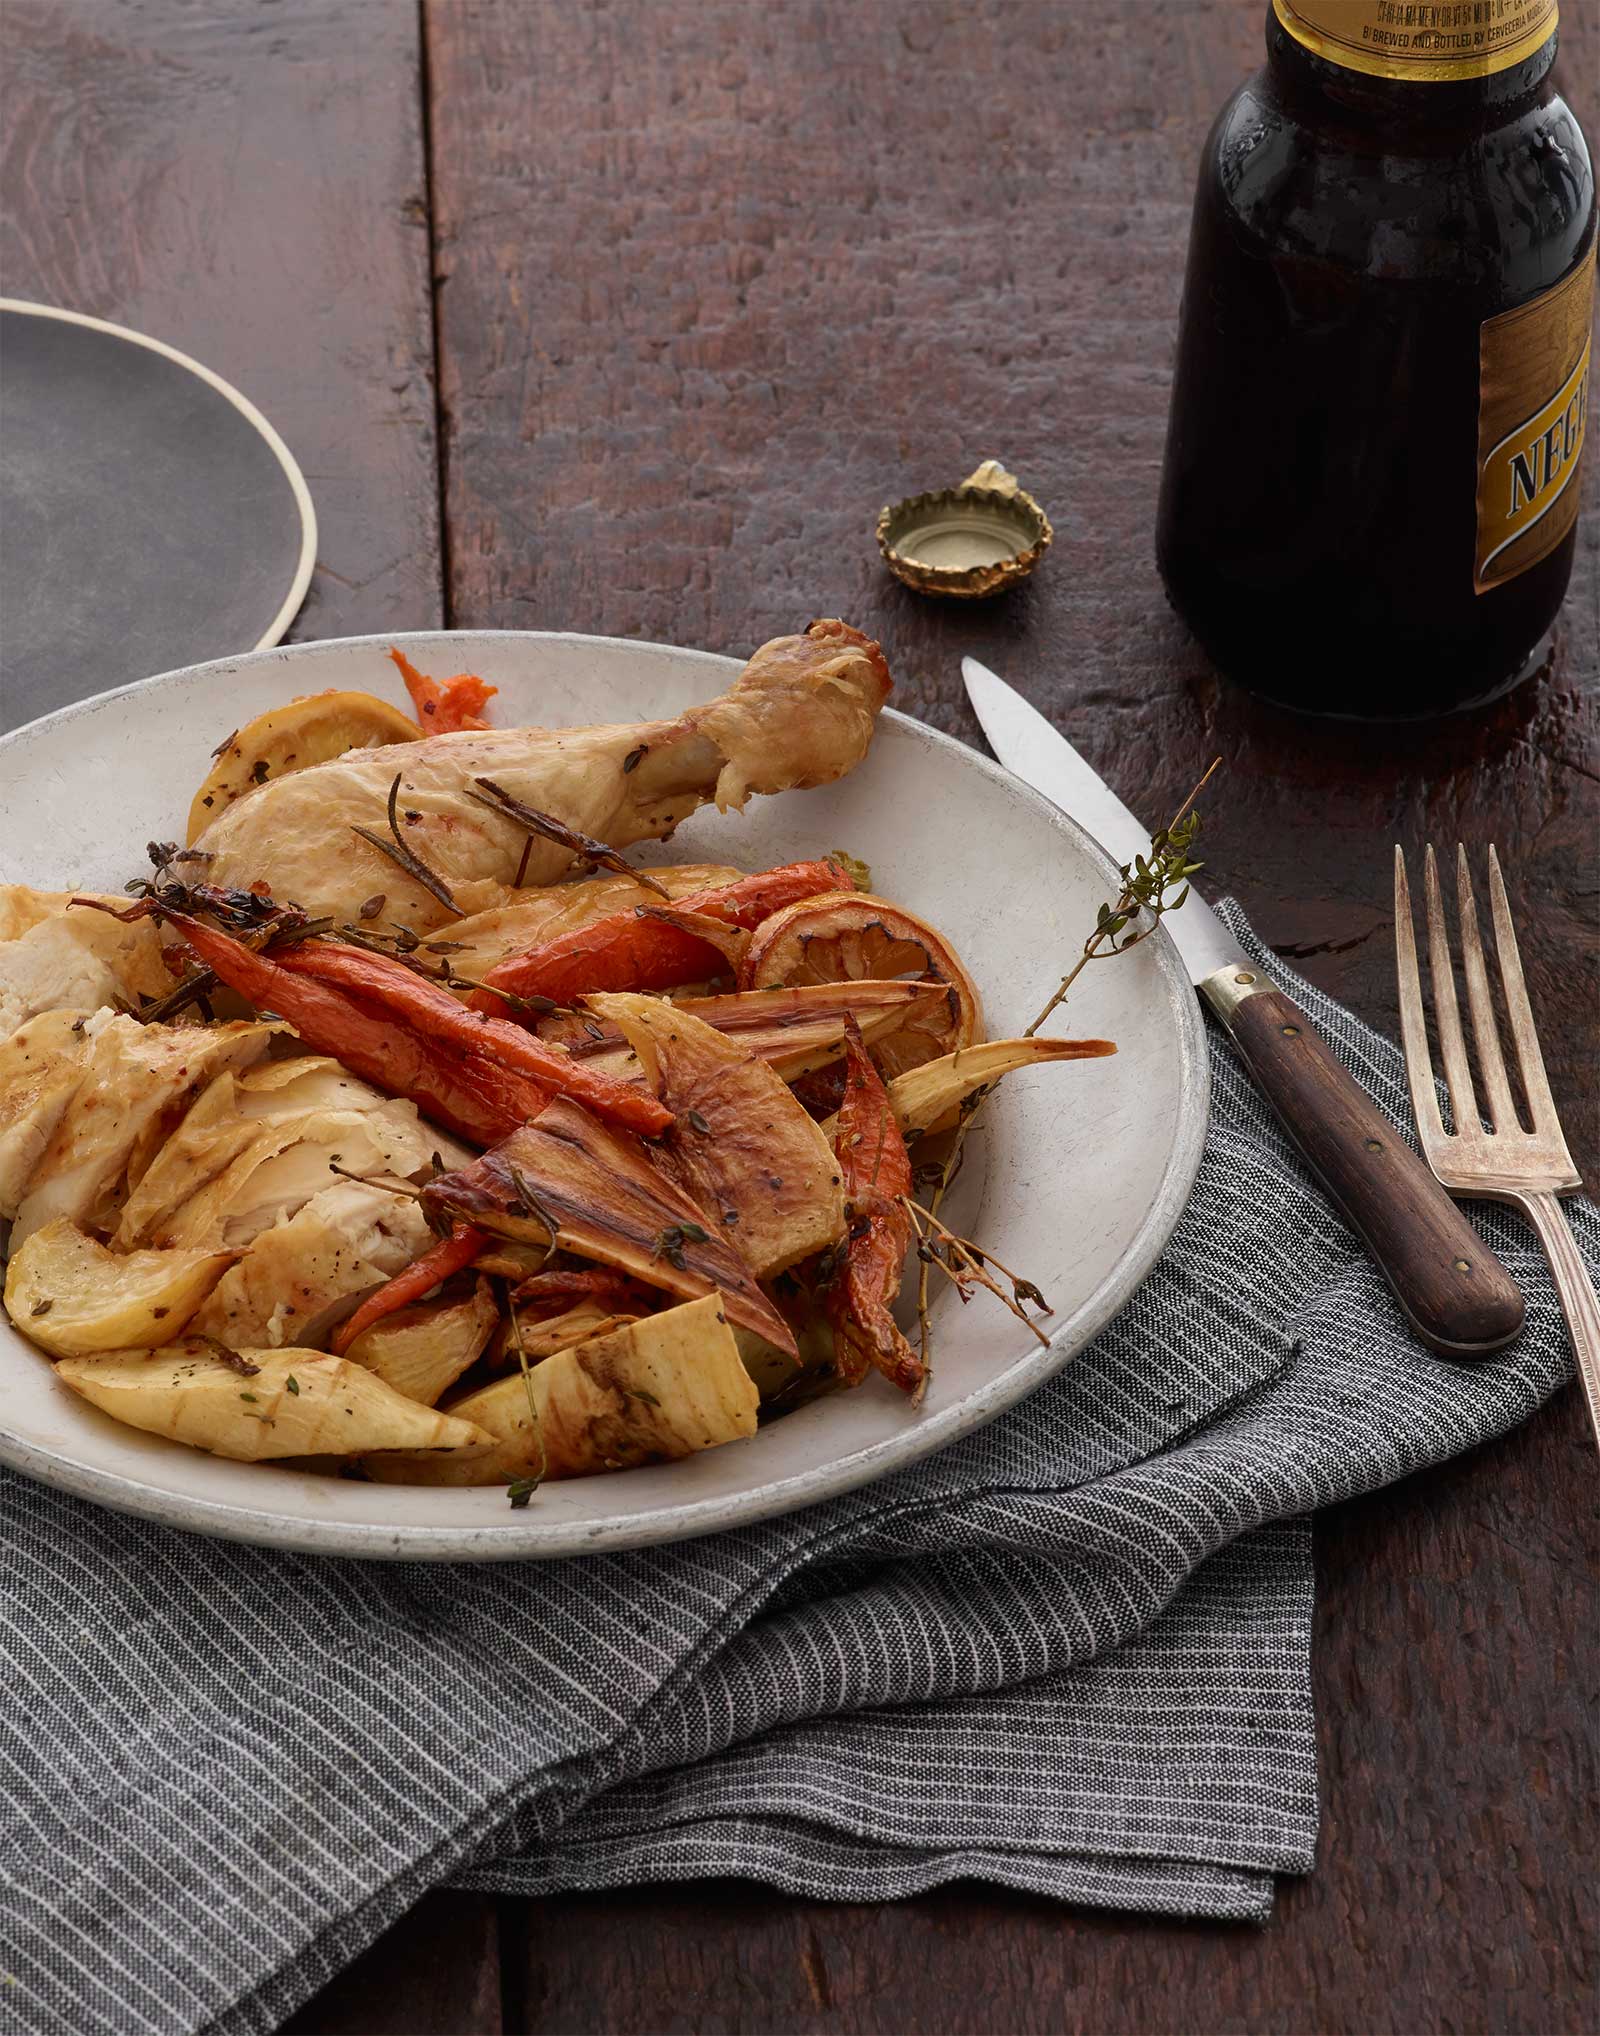
Let’s go through the process of giving food images a more wintery look. We’ll walk you through step-by-step with an example image. We’ve also broken down the adjustments we’re going to make so they relate to the big idea and show you how to achieve that look in Adobe Lightroom and Photoshop.
Step 1: Cleanup
Retouch for dust, and overall cleanups. If you need to do any in-depth retouching for the overall image, go ahead and do it now.

Use the slider below the image to see the before and after of retouching in Adobe Photoshop.
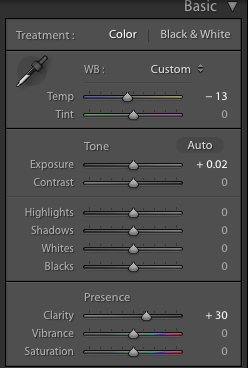
Step 2: Color Temperature
Now that we’ve retouched our image in Adobe Photoshop, we’re going to make the color adjustments in Adobe Lightroom. Winter has cooler light (blue), while the summer is naturally warmer (yellow). In this step we’re going to make the image read cooler. However, we’re dealing with food, so we don’t want to go too extreme and risk the food looking unappetizing. If you want your background to go cooler, we suggest a mask so the food is not too cool. For this image we used a mask because the chicken was looking rather light and didn’t have a lot of tone, so we want it to lean warmer.
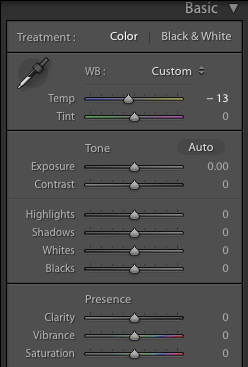
Color temperature adjustment.
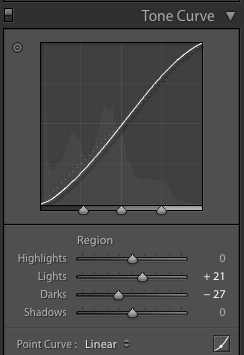
Adjusting the curves to add more contrast.
Step 3: Add Moodiness with Curves
Shadows can be much softer in the winter with the cloudy skies. We like to use curves to add contrast back into the image. Below is an example of the curve we like. Don’t go too crazy with curves – a little goes a long way. You don’t want to block up your blacks.

Step 4: Saturation
In the winter things are way less saturated than the summer, so we like to take the saturation down just a bit for a wintery feeling. If you are working with a lot of ‘brown’ food, be careful with this step as it can quickly make foods with a lot of brown have a greenish cast. This technique works well with items that shoot saturated like greens and red type food (think tomatoes and pumpkins). In Lightroom, we have masked out everything but the food to desaturate the background, without affecting the food.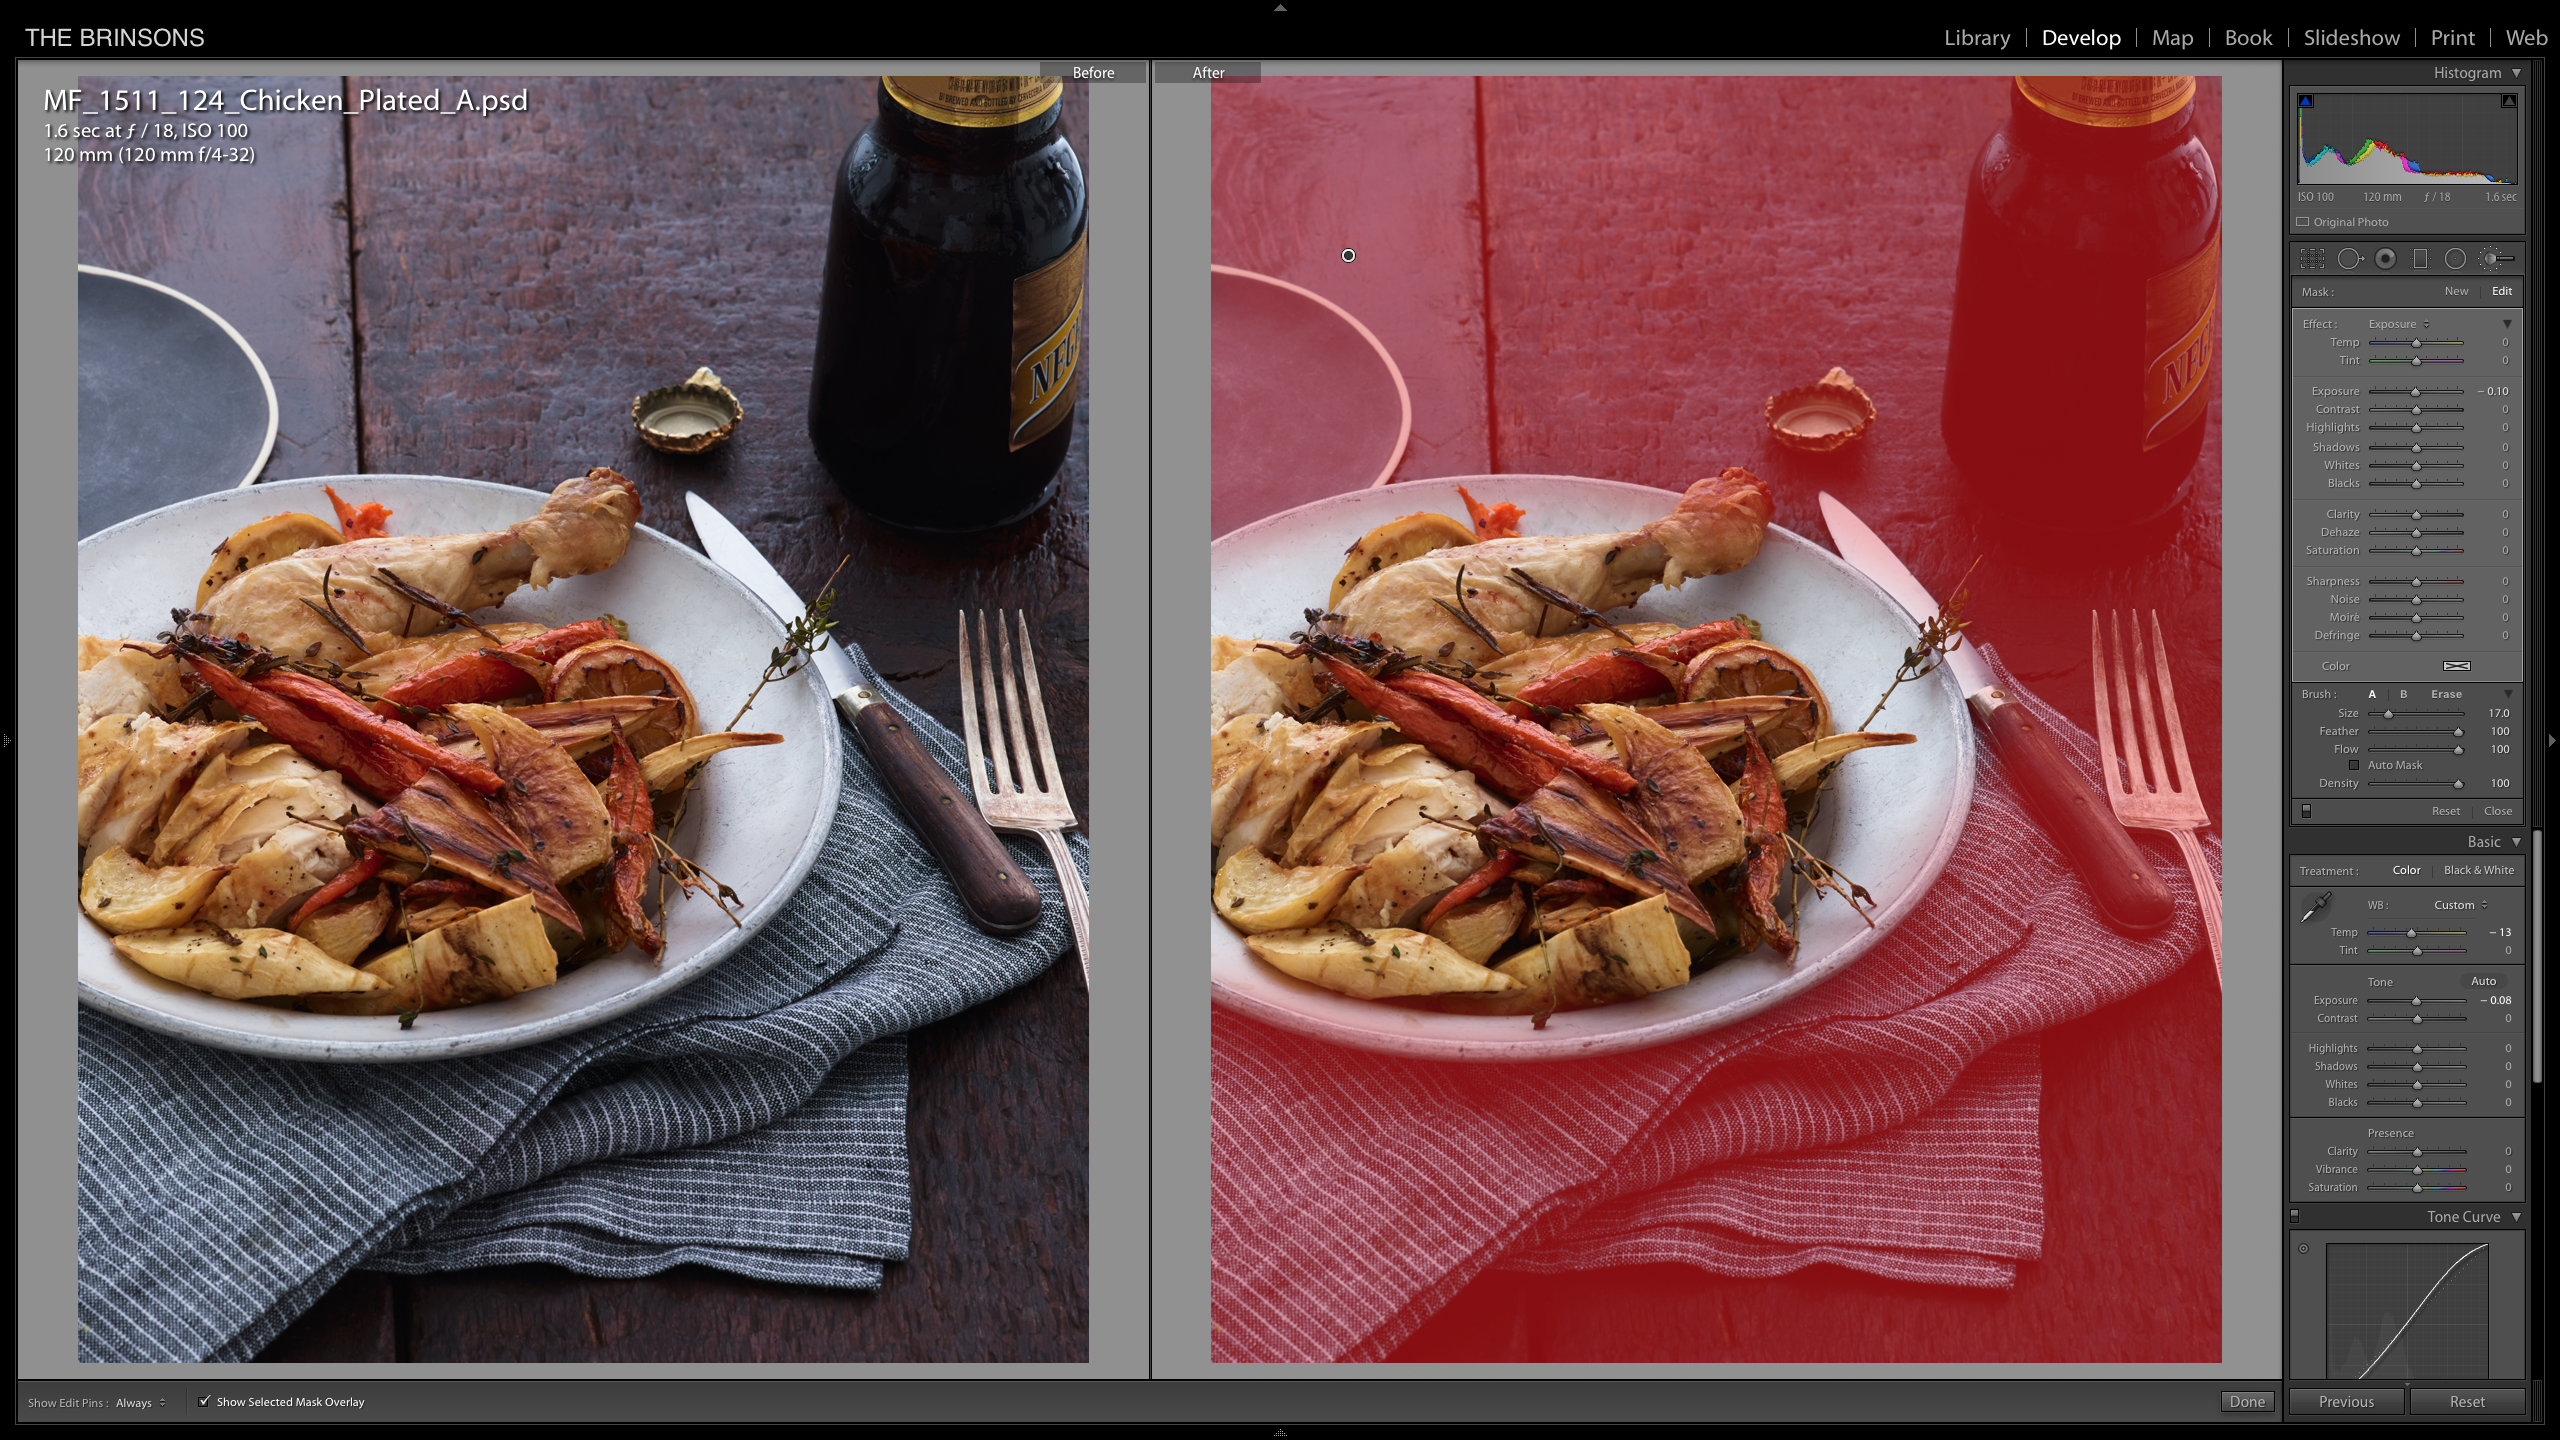
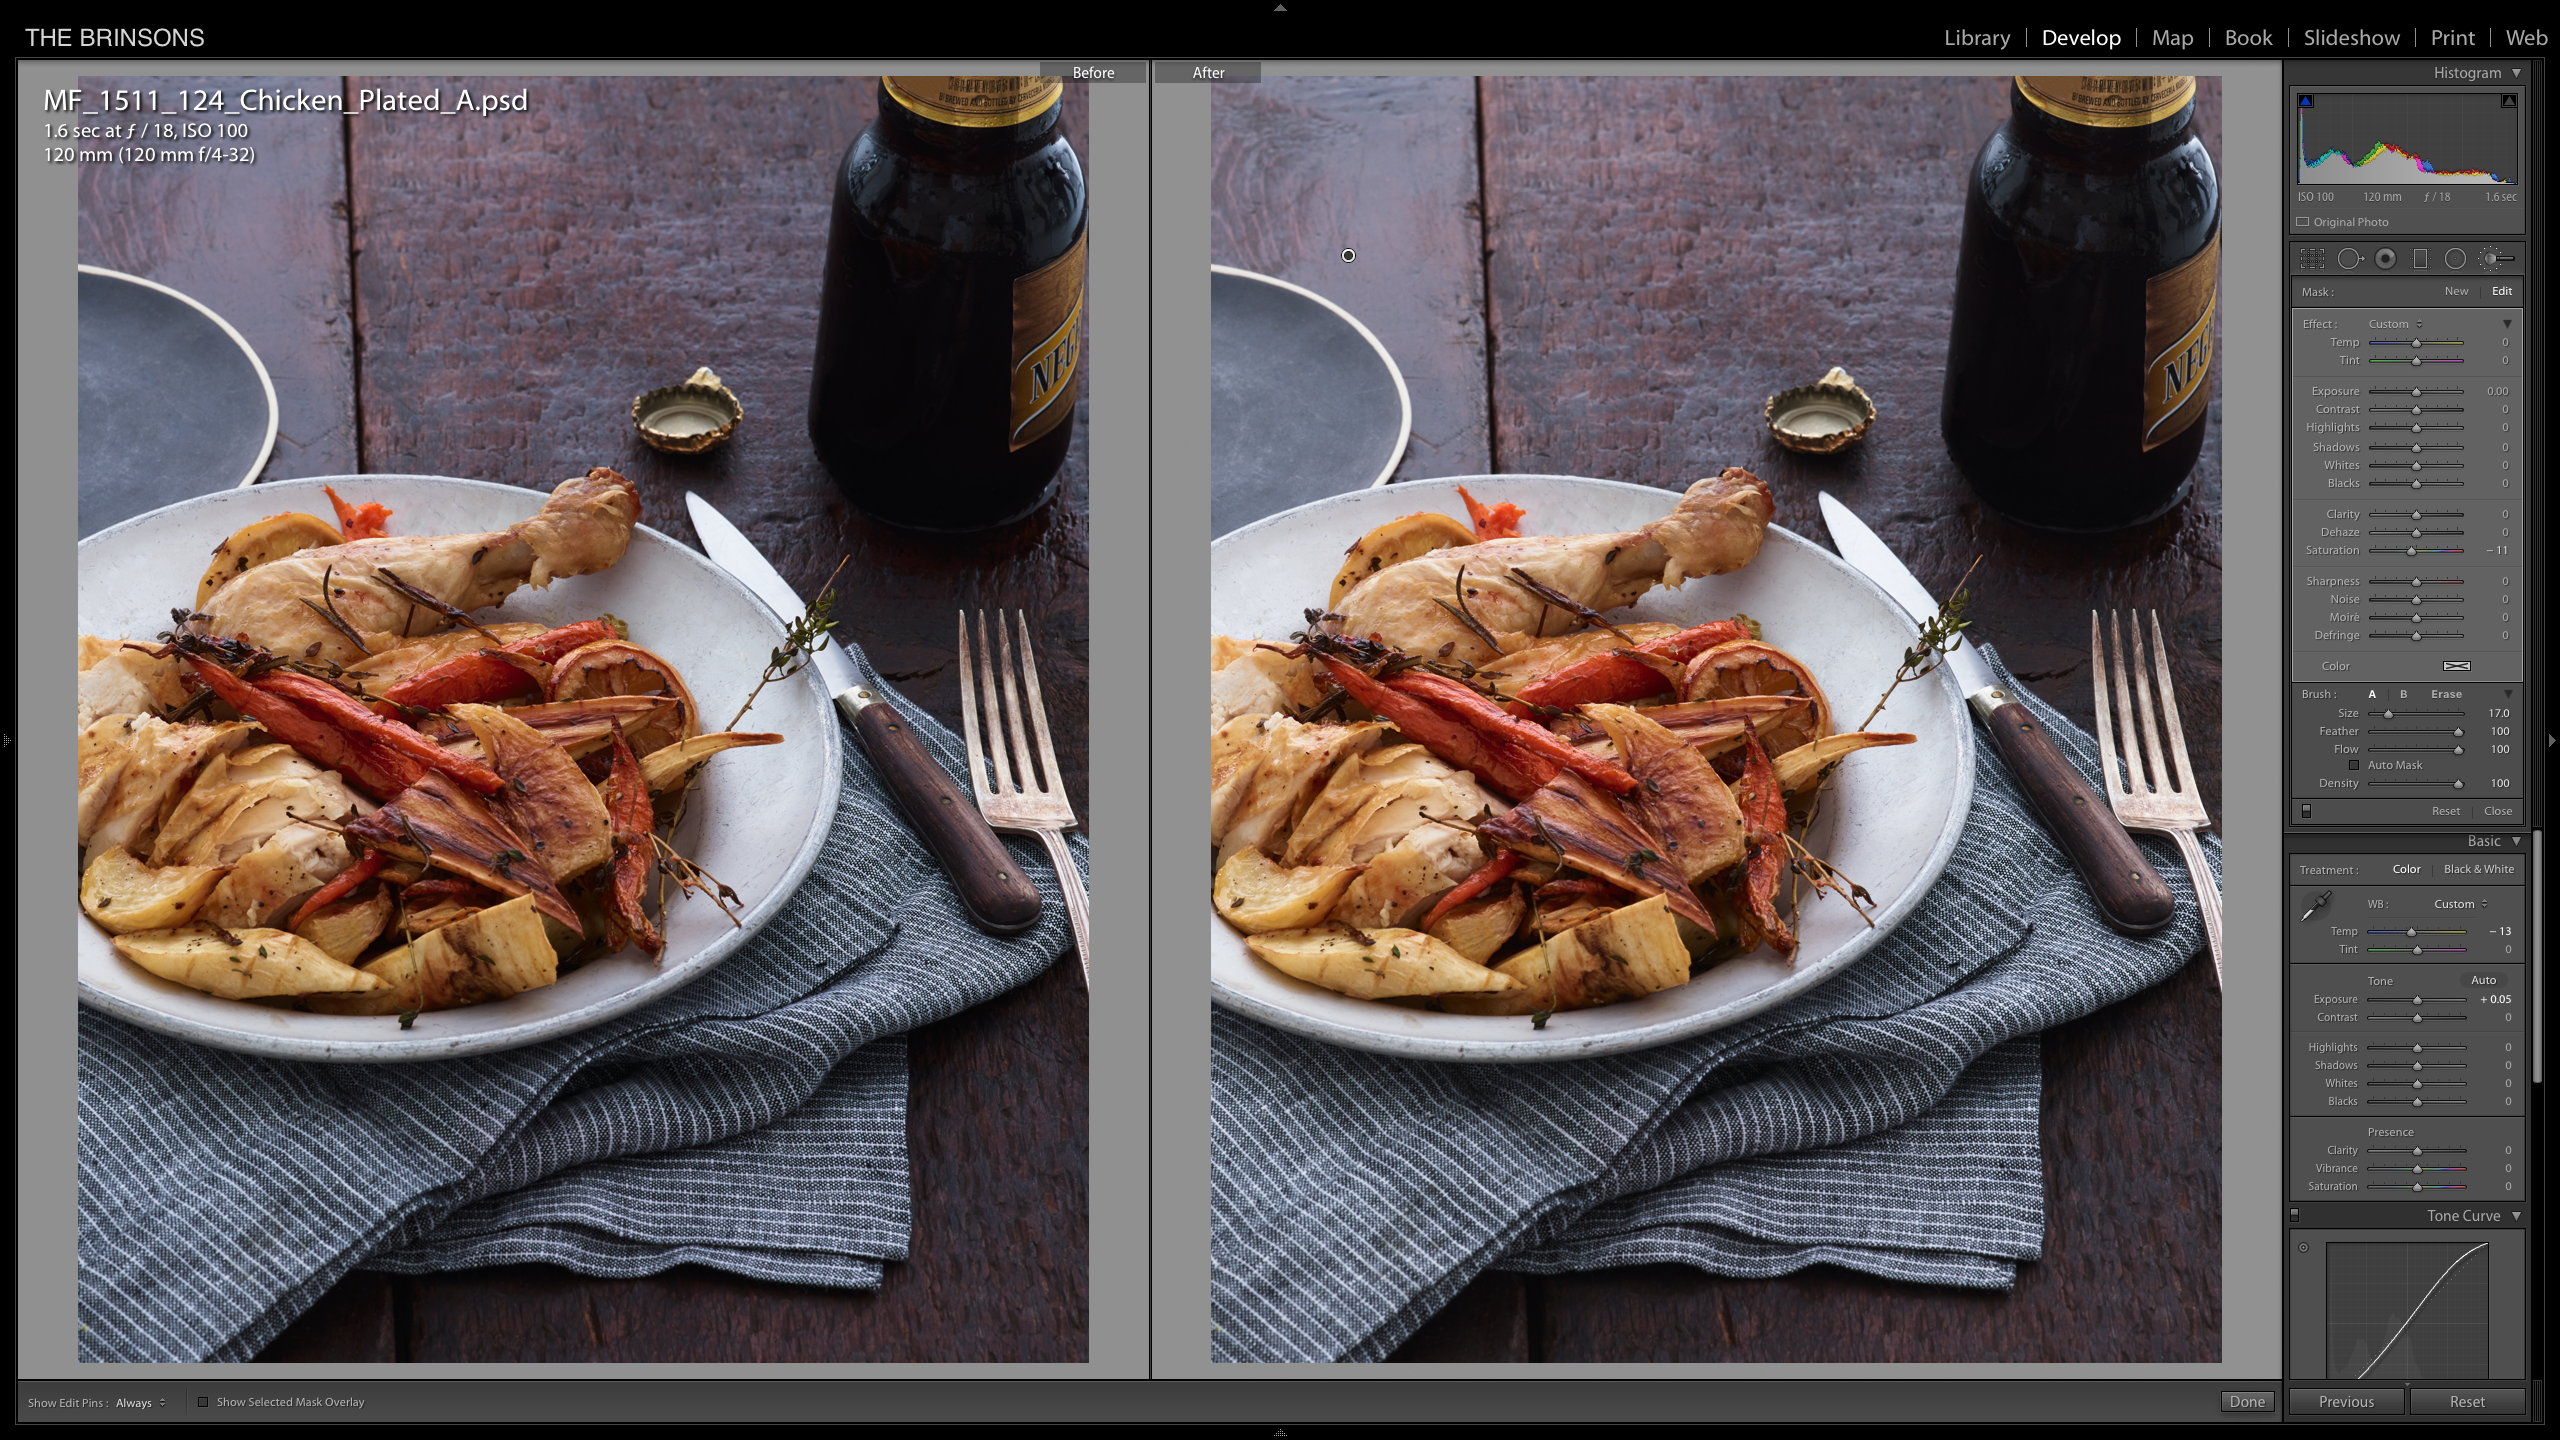
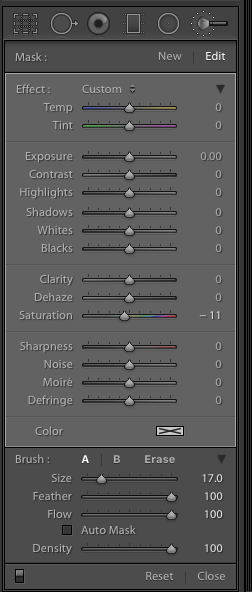
We masked the background (everything except the food) and removed the saturation, setting -11.
See the last section ‘Presence’ and the Clarity adjusted to +30.
Step 5: Exposure and Clarity
Check your exposure, as you might need to bump it up a bit. We’ve done more than a few things to this image, and we don’t want to make it look flat. Plus, we pulled curves so it can block up the blacks. Check your exposure and bump it up just a bit. Also, add a bit of clarity to your image for that extra pop.
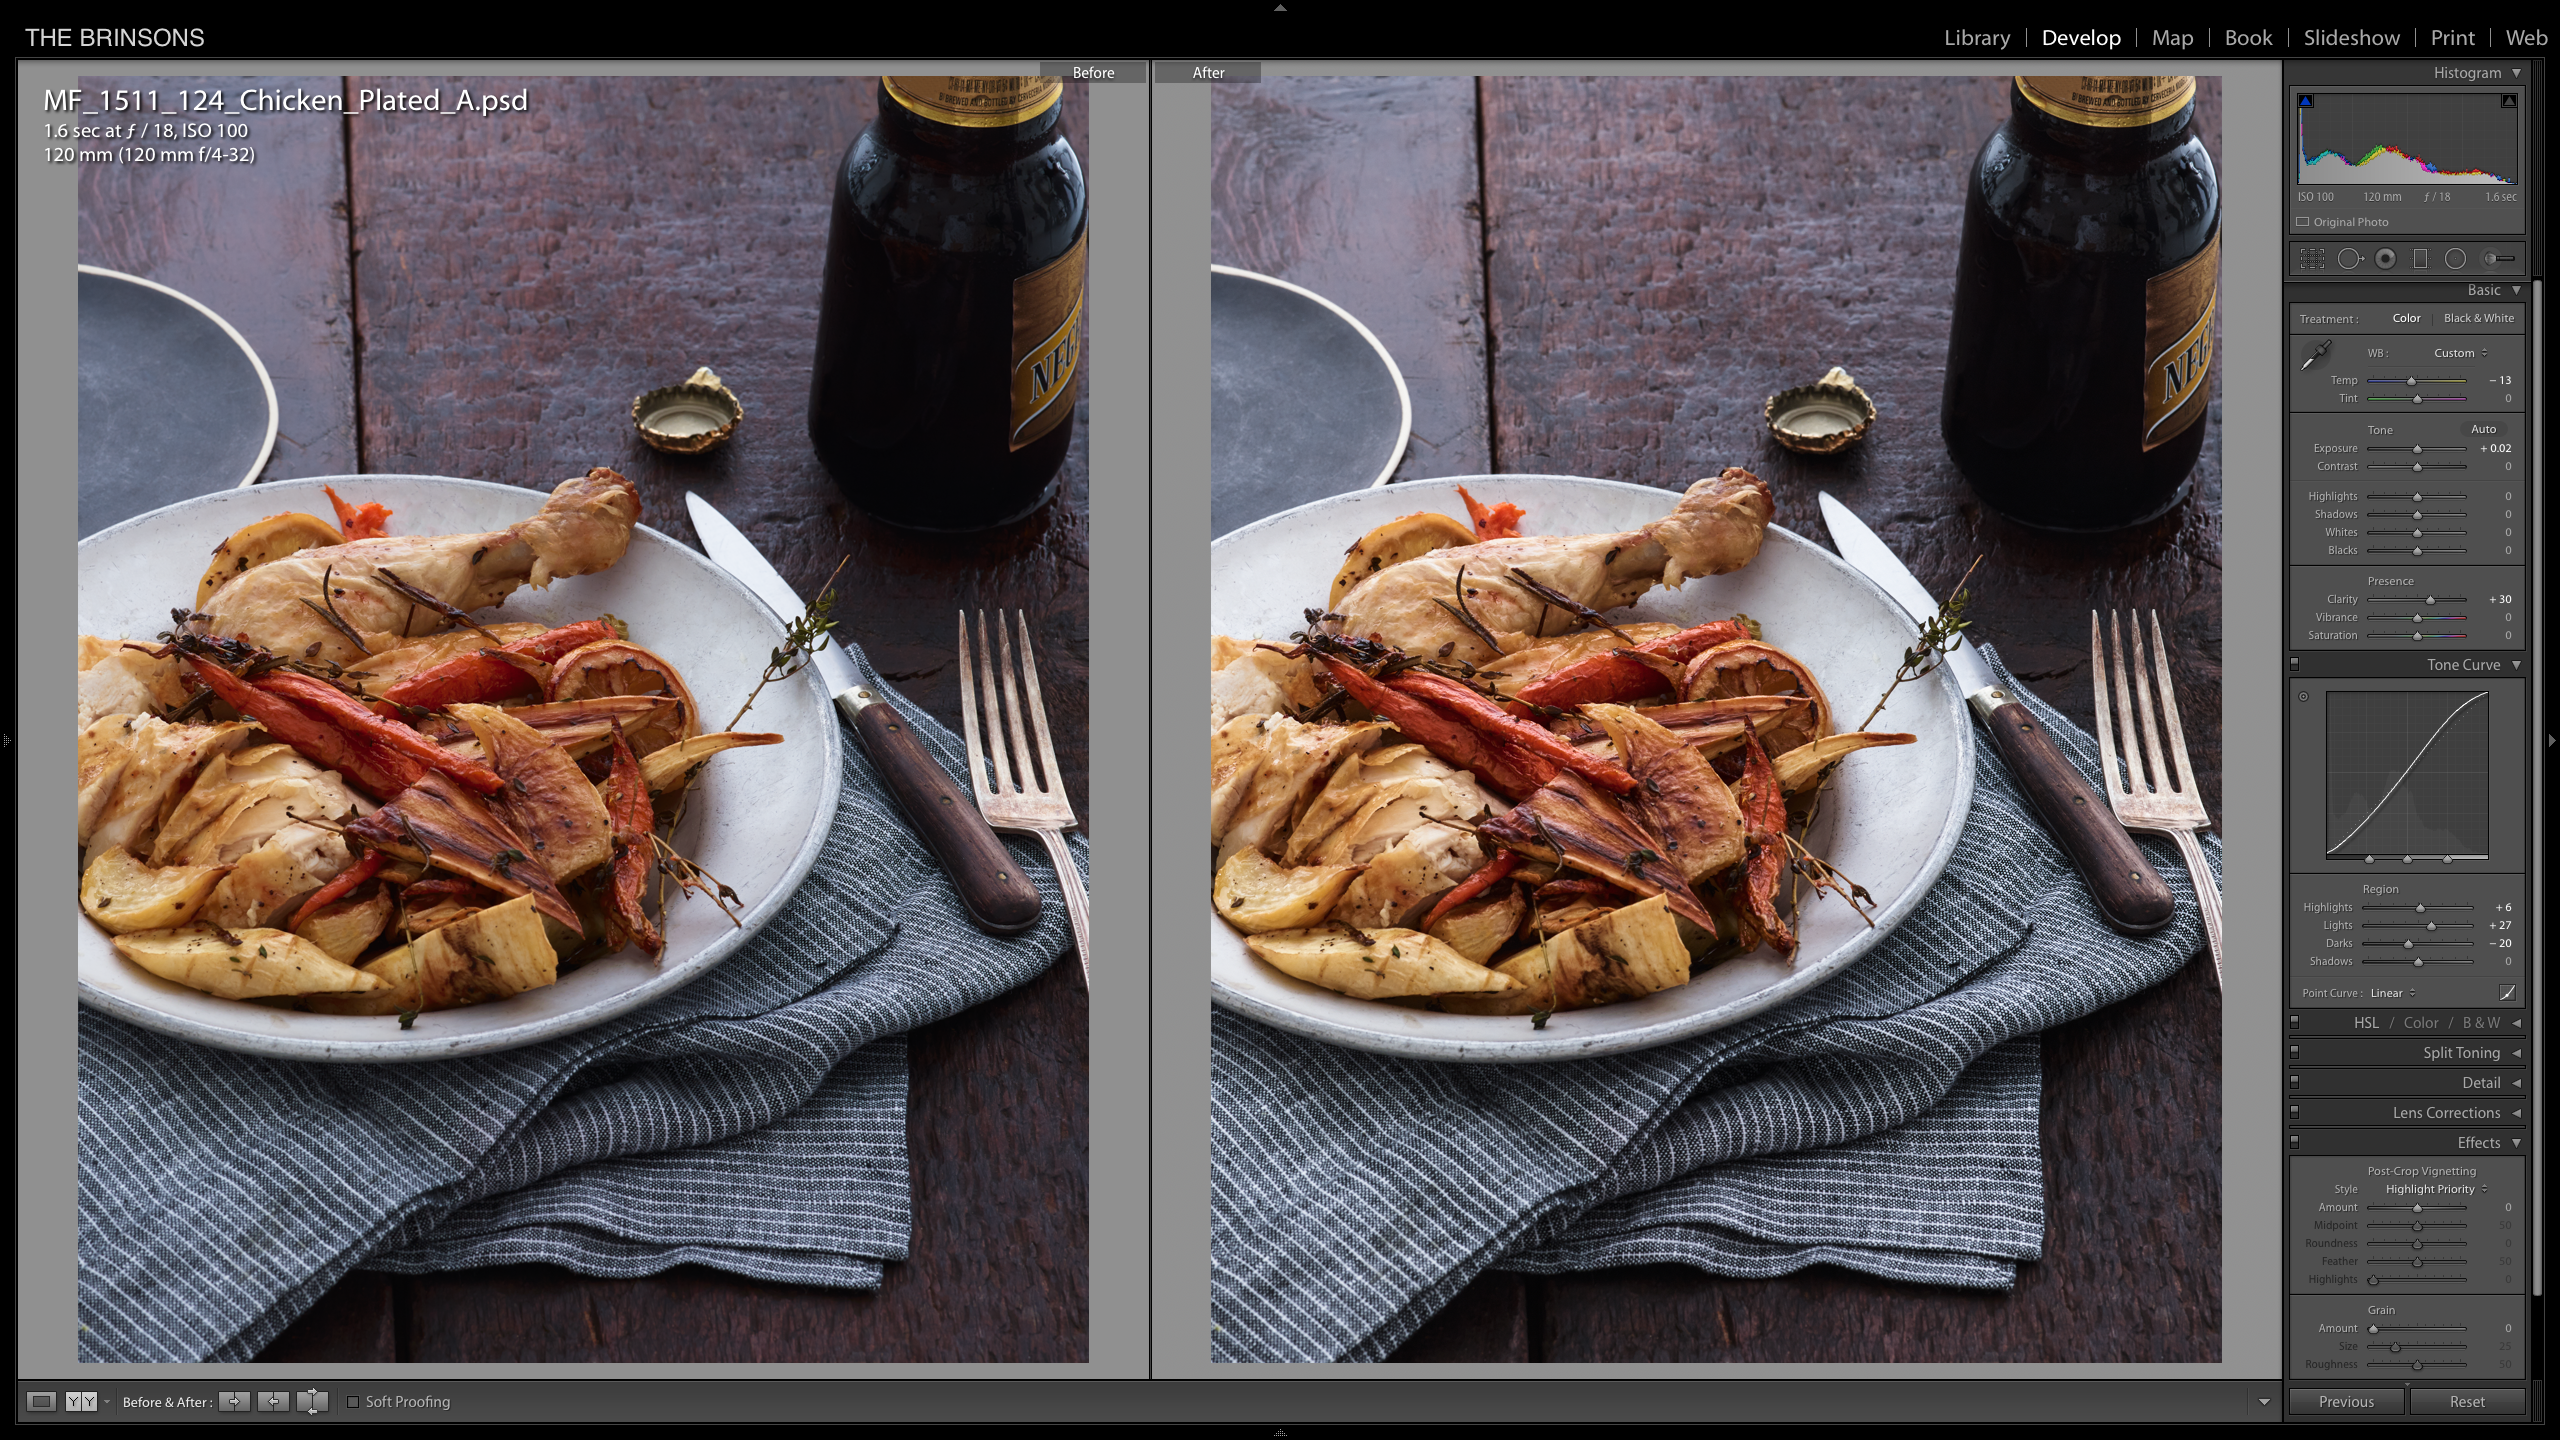
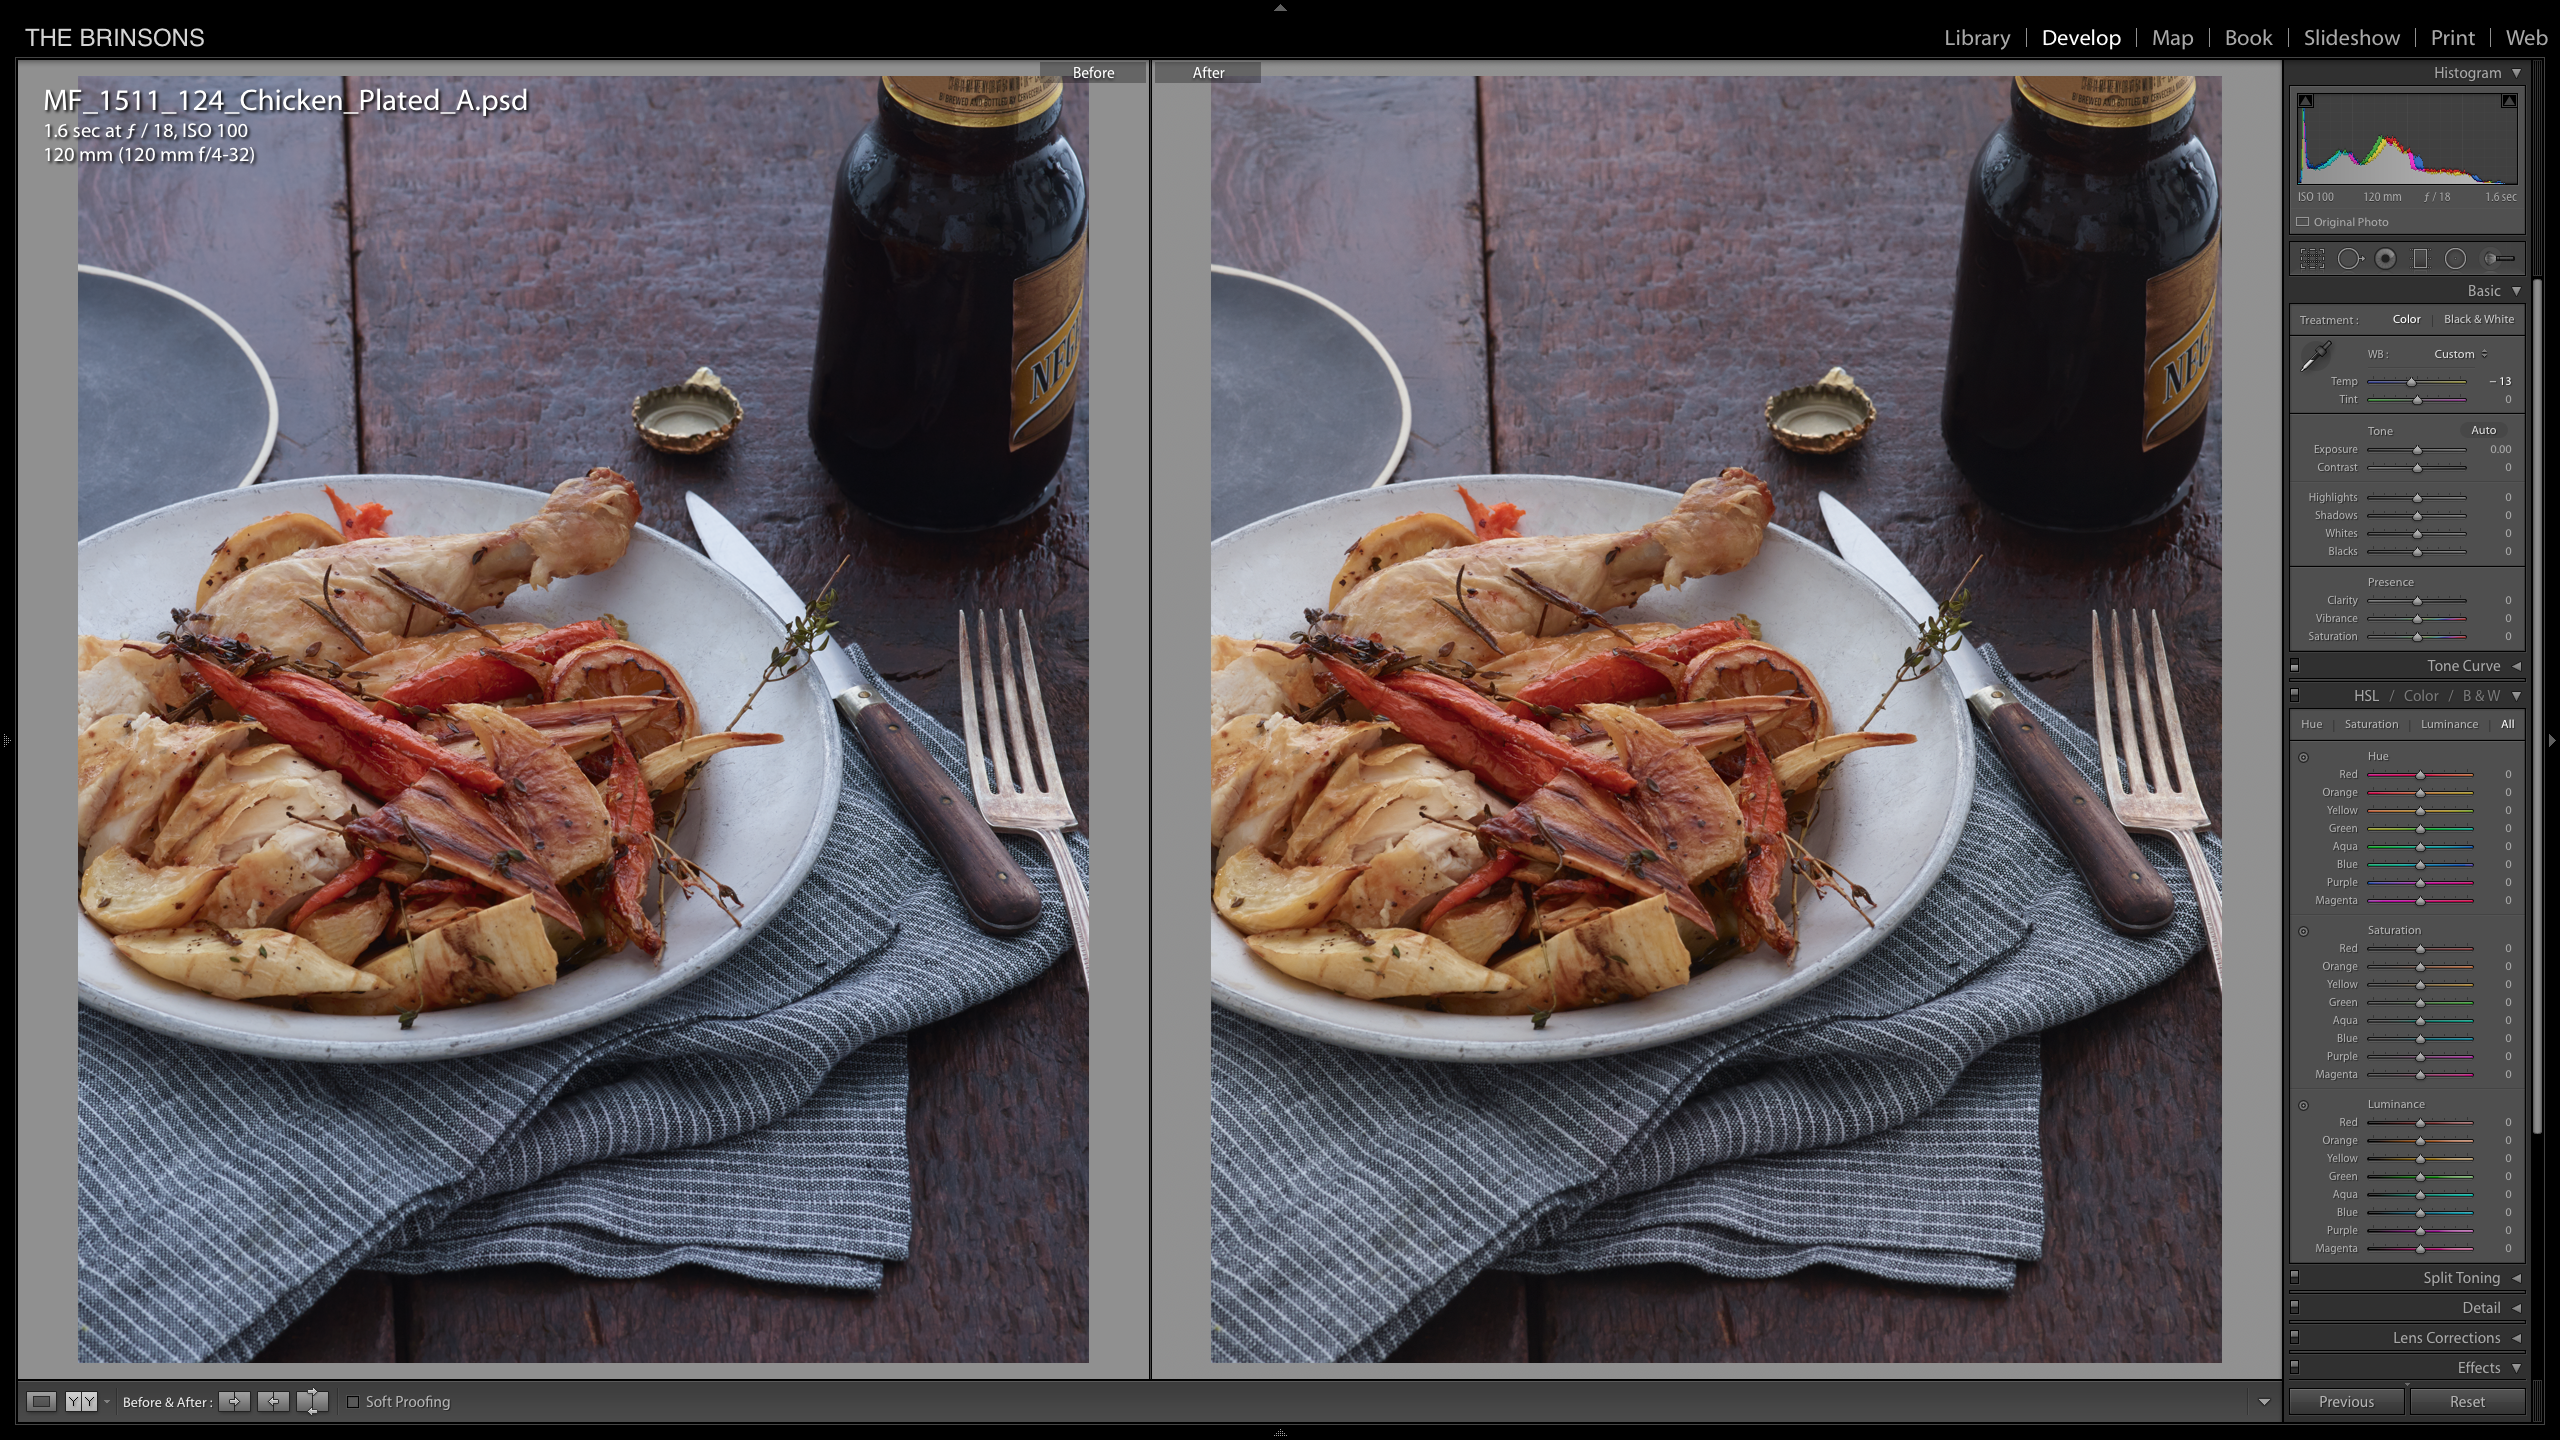
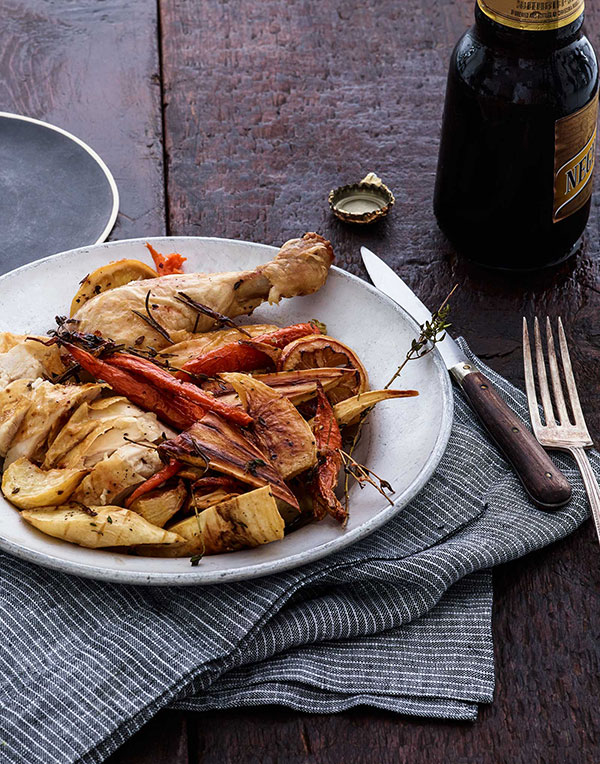
The Before and After
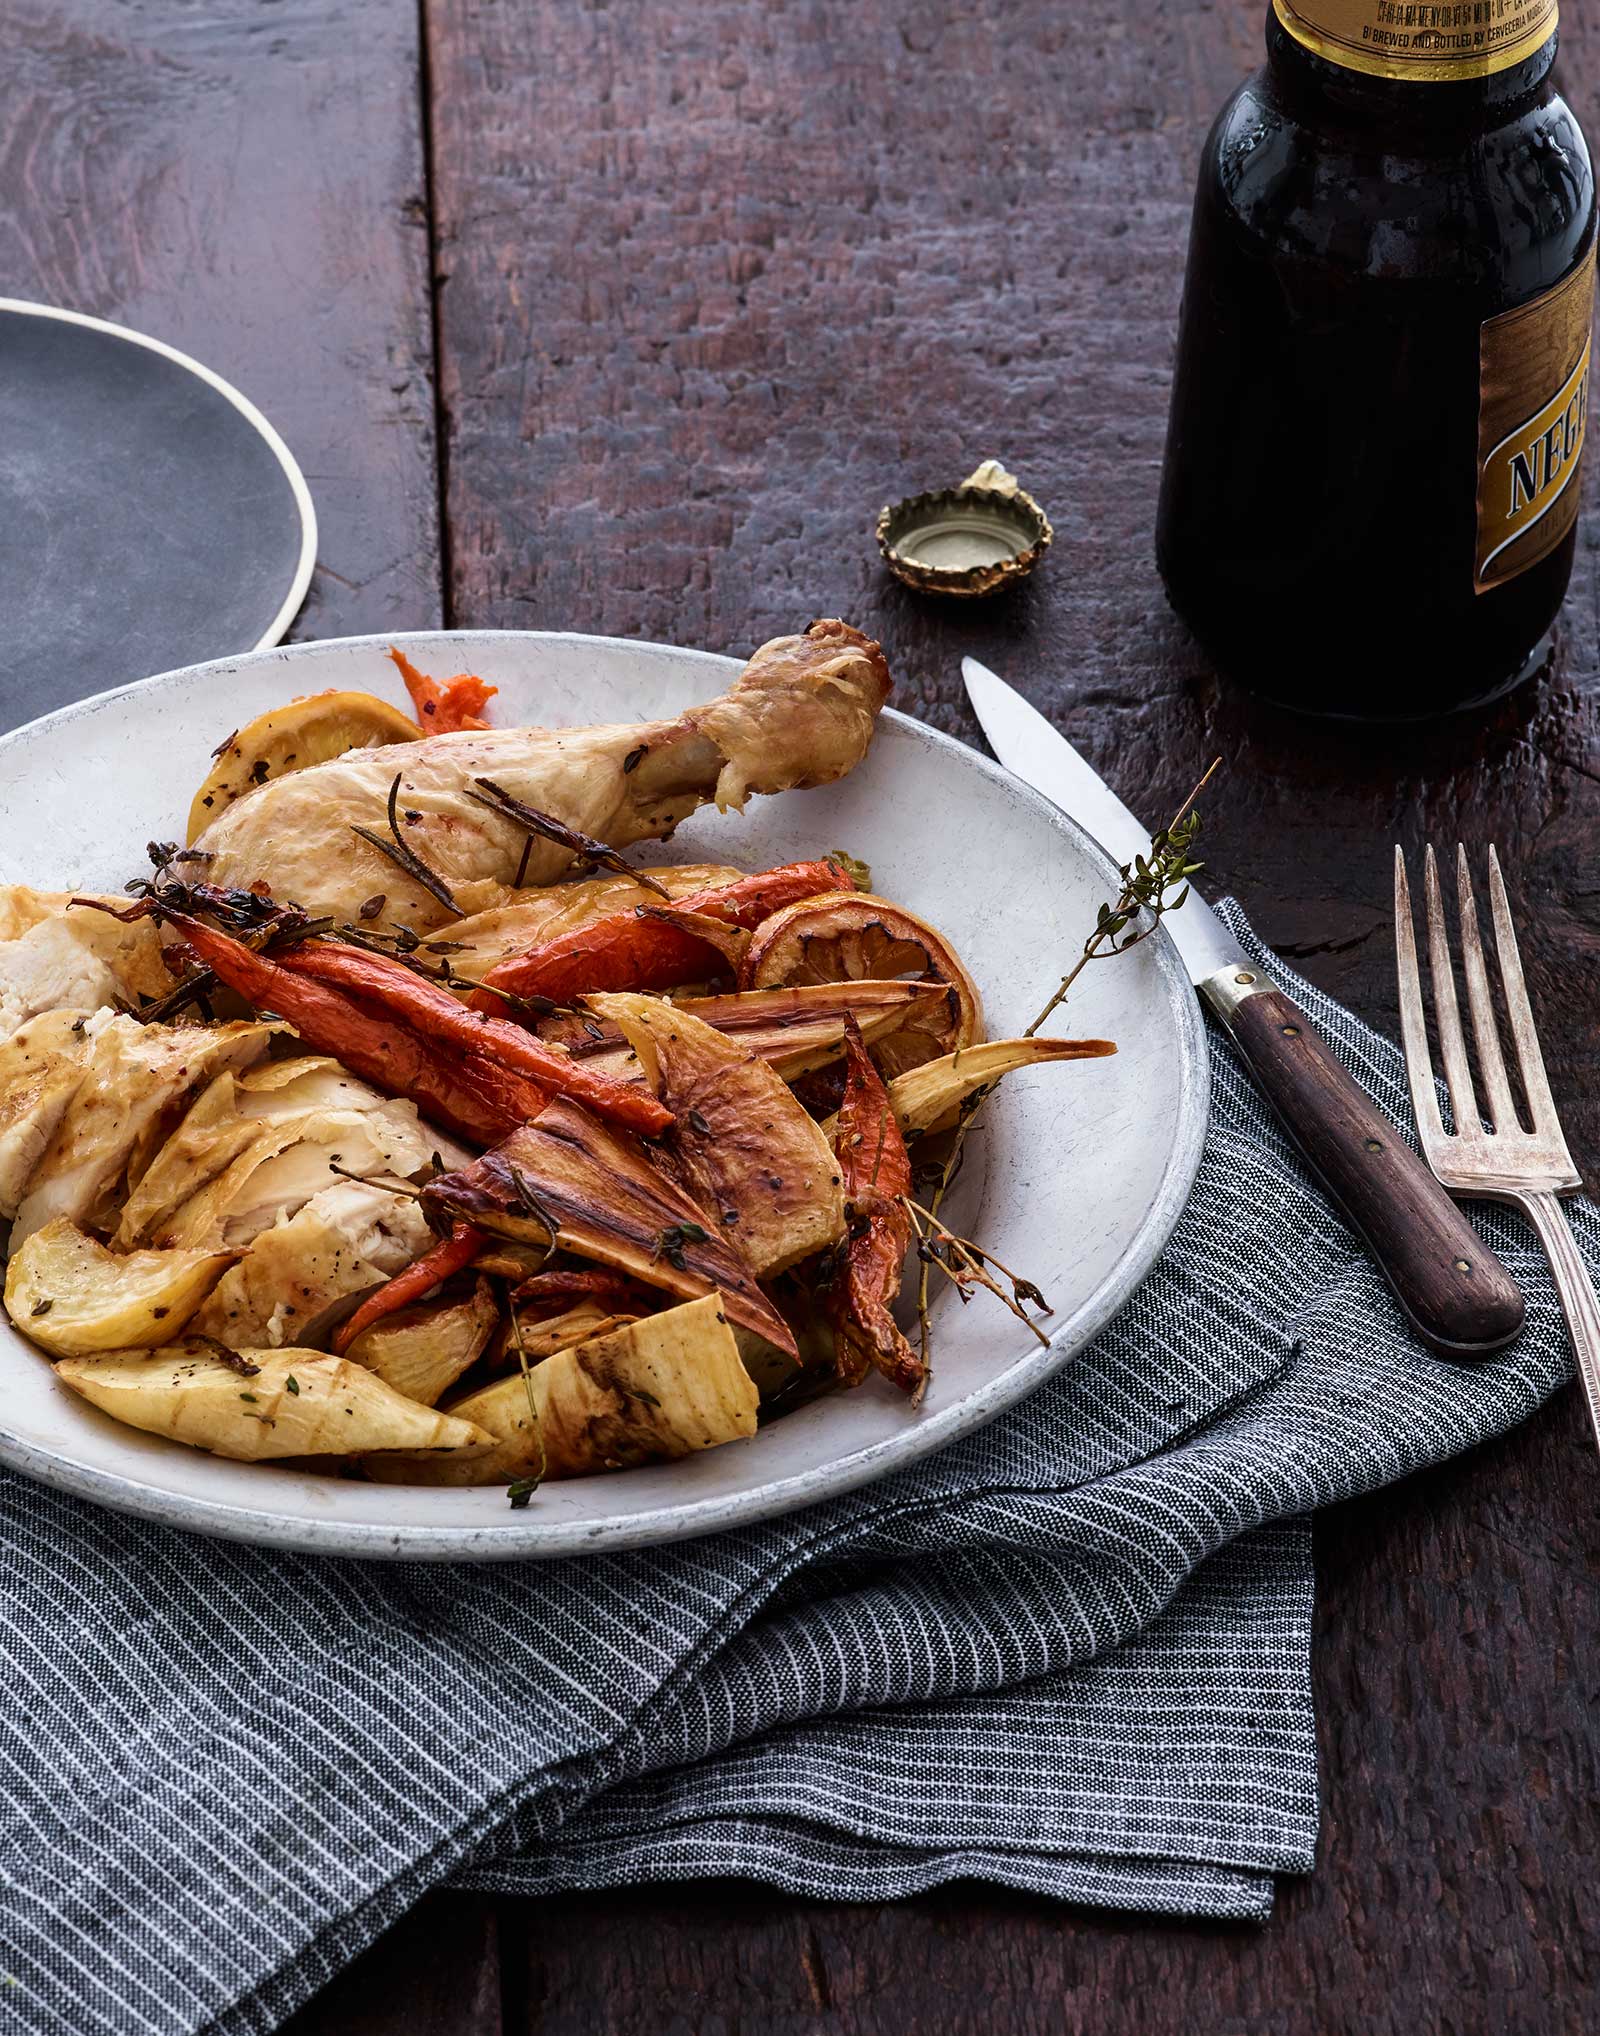
Use the slider above the image to see the before and after.
Using these steps, you can customize your images to get a wintery feel during the cooler months. Experiment to create your own customized look.

Hello Susan,
Thank you, this is a very well written and explained article.
I’m learning more and more on how to use Lightroom and enjoying it very much.
I’ll certainly practice this lesson so thank you.
Dinah